Introduction
When you’re planning your next wilderness expedition with your dog, consider their feet and paws. You’ll both be covering a lot of ground over rough terrain, so make sure your dog’s paws are in top condition. And make sure you’re prepared to take care of his paws if need be.
Hazards Facing Your Dog’s Paws in the Wilderness
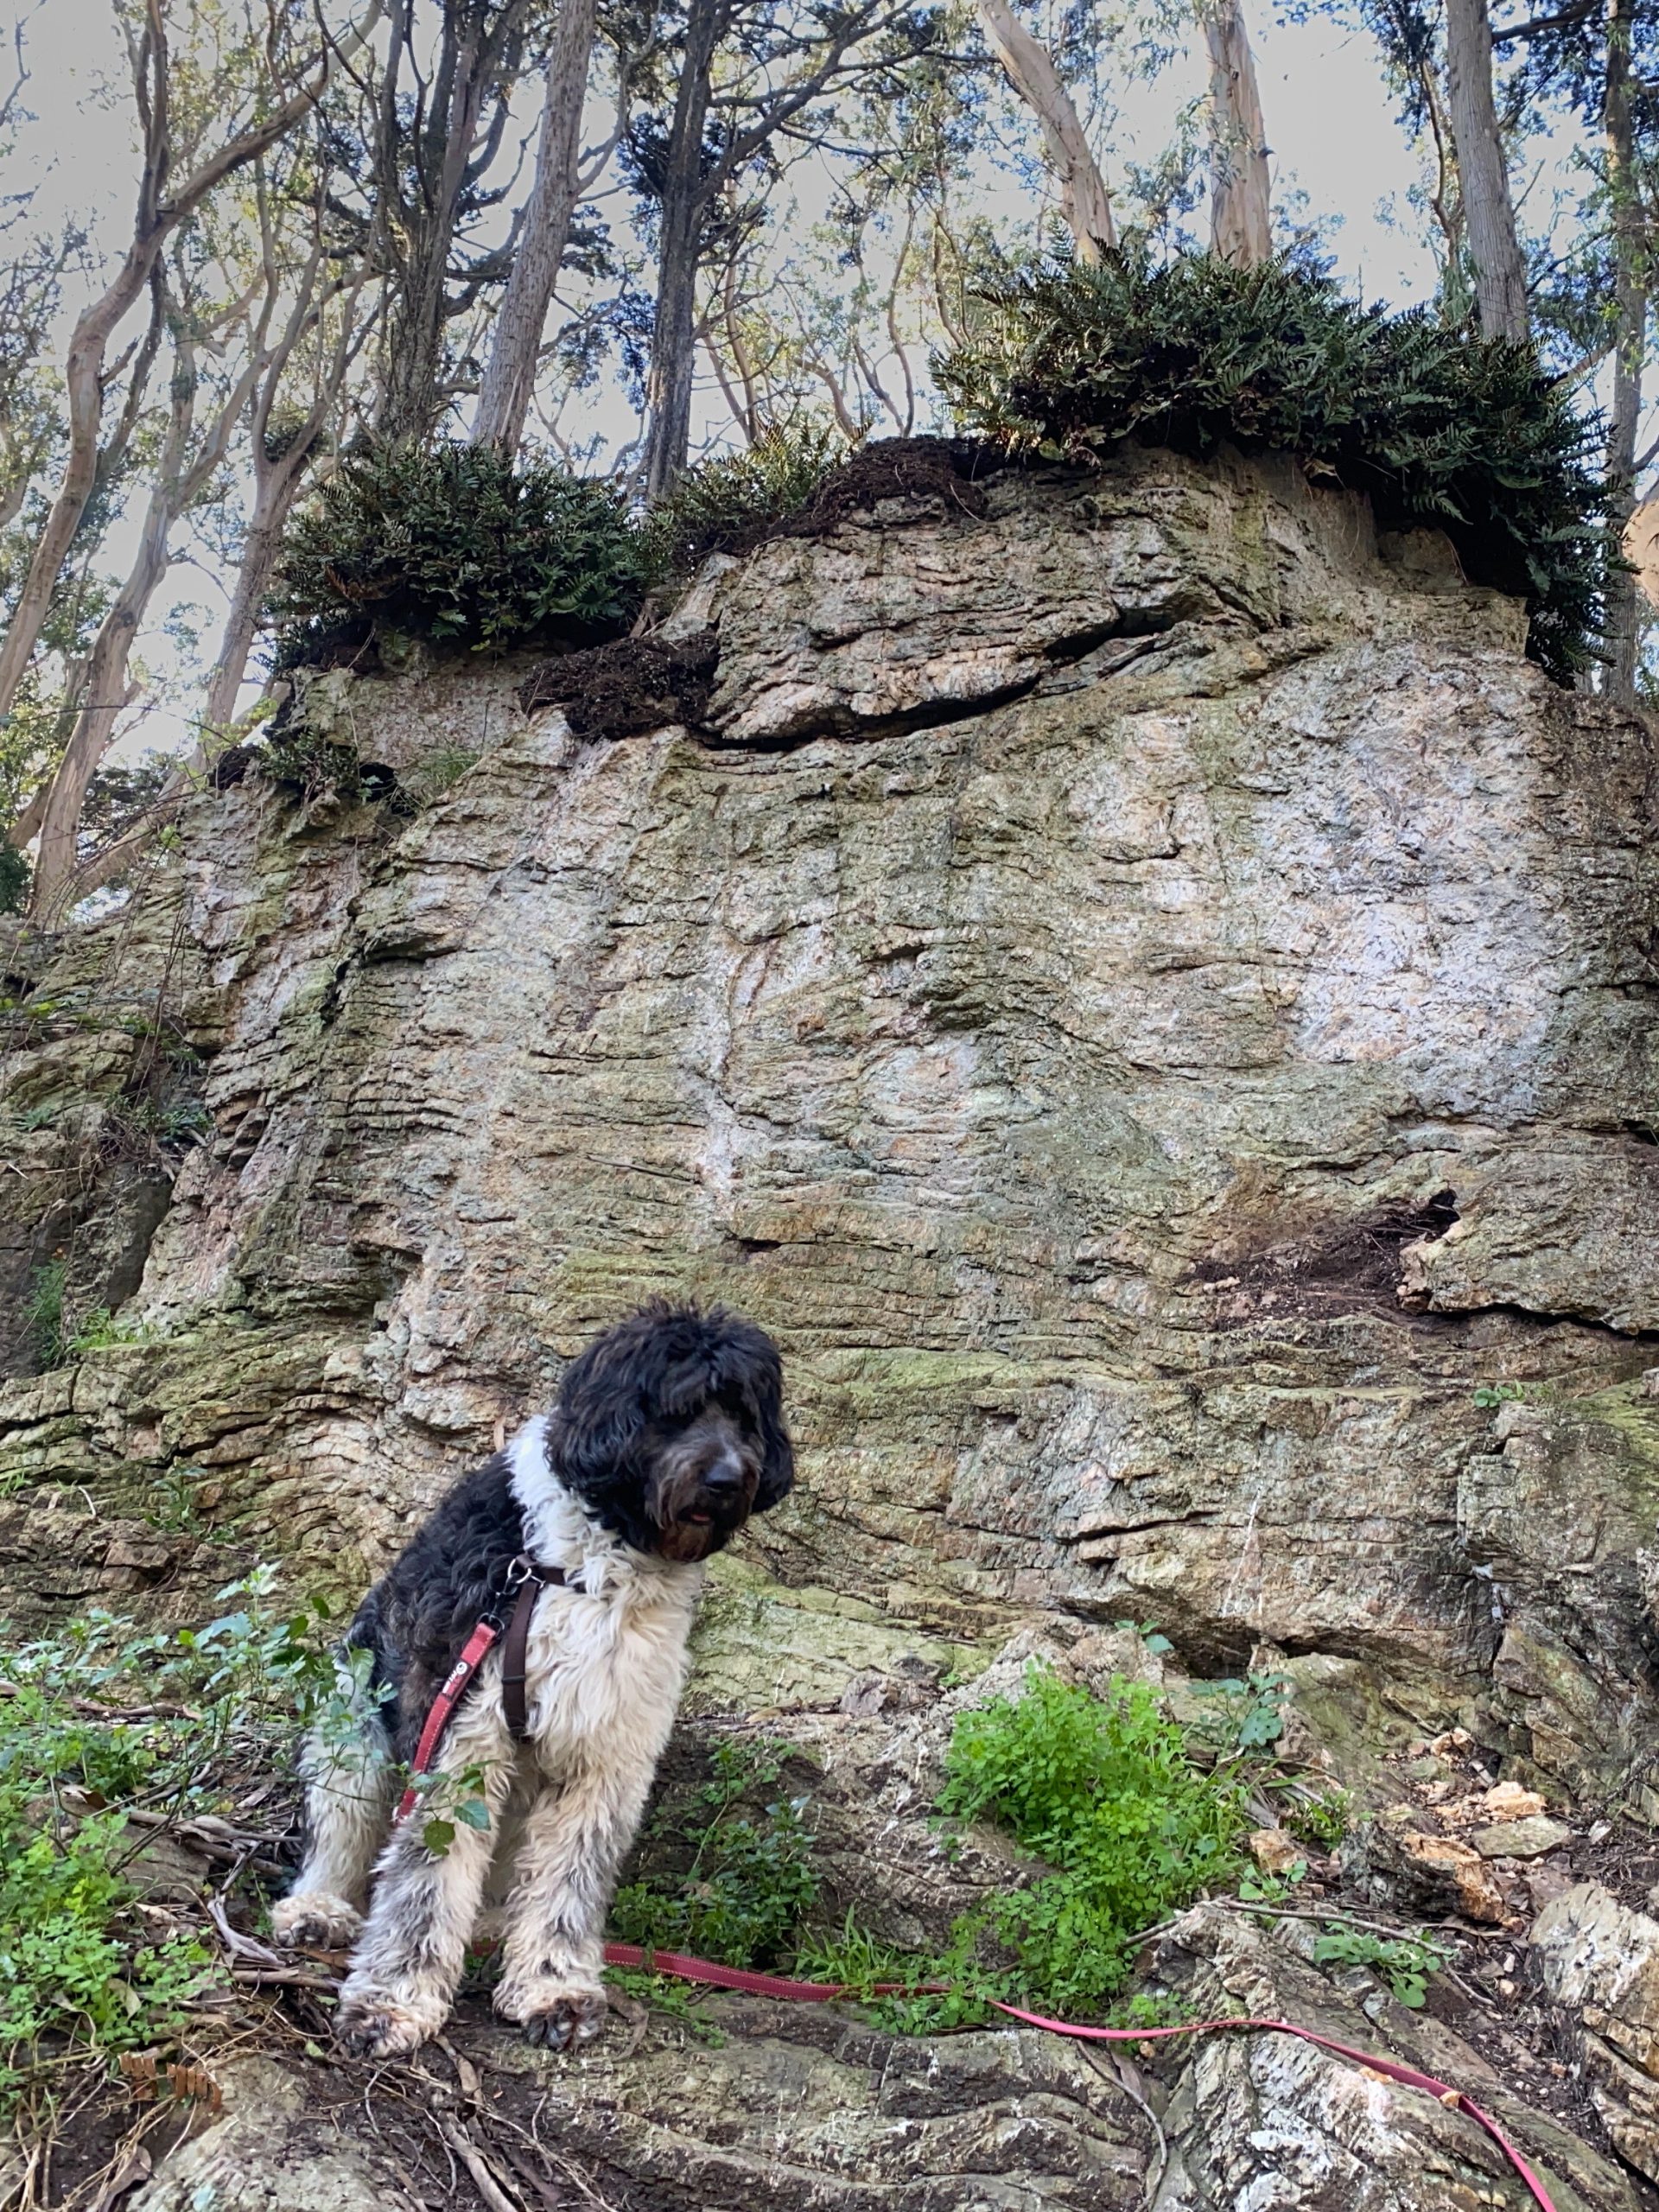
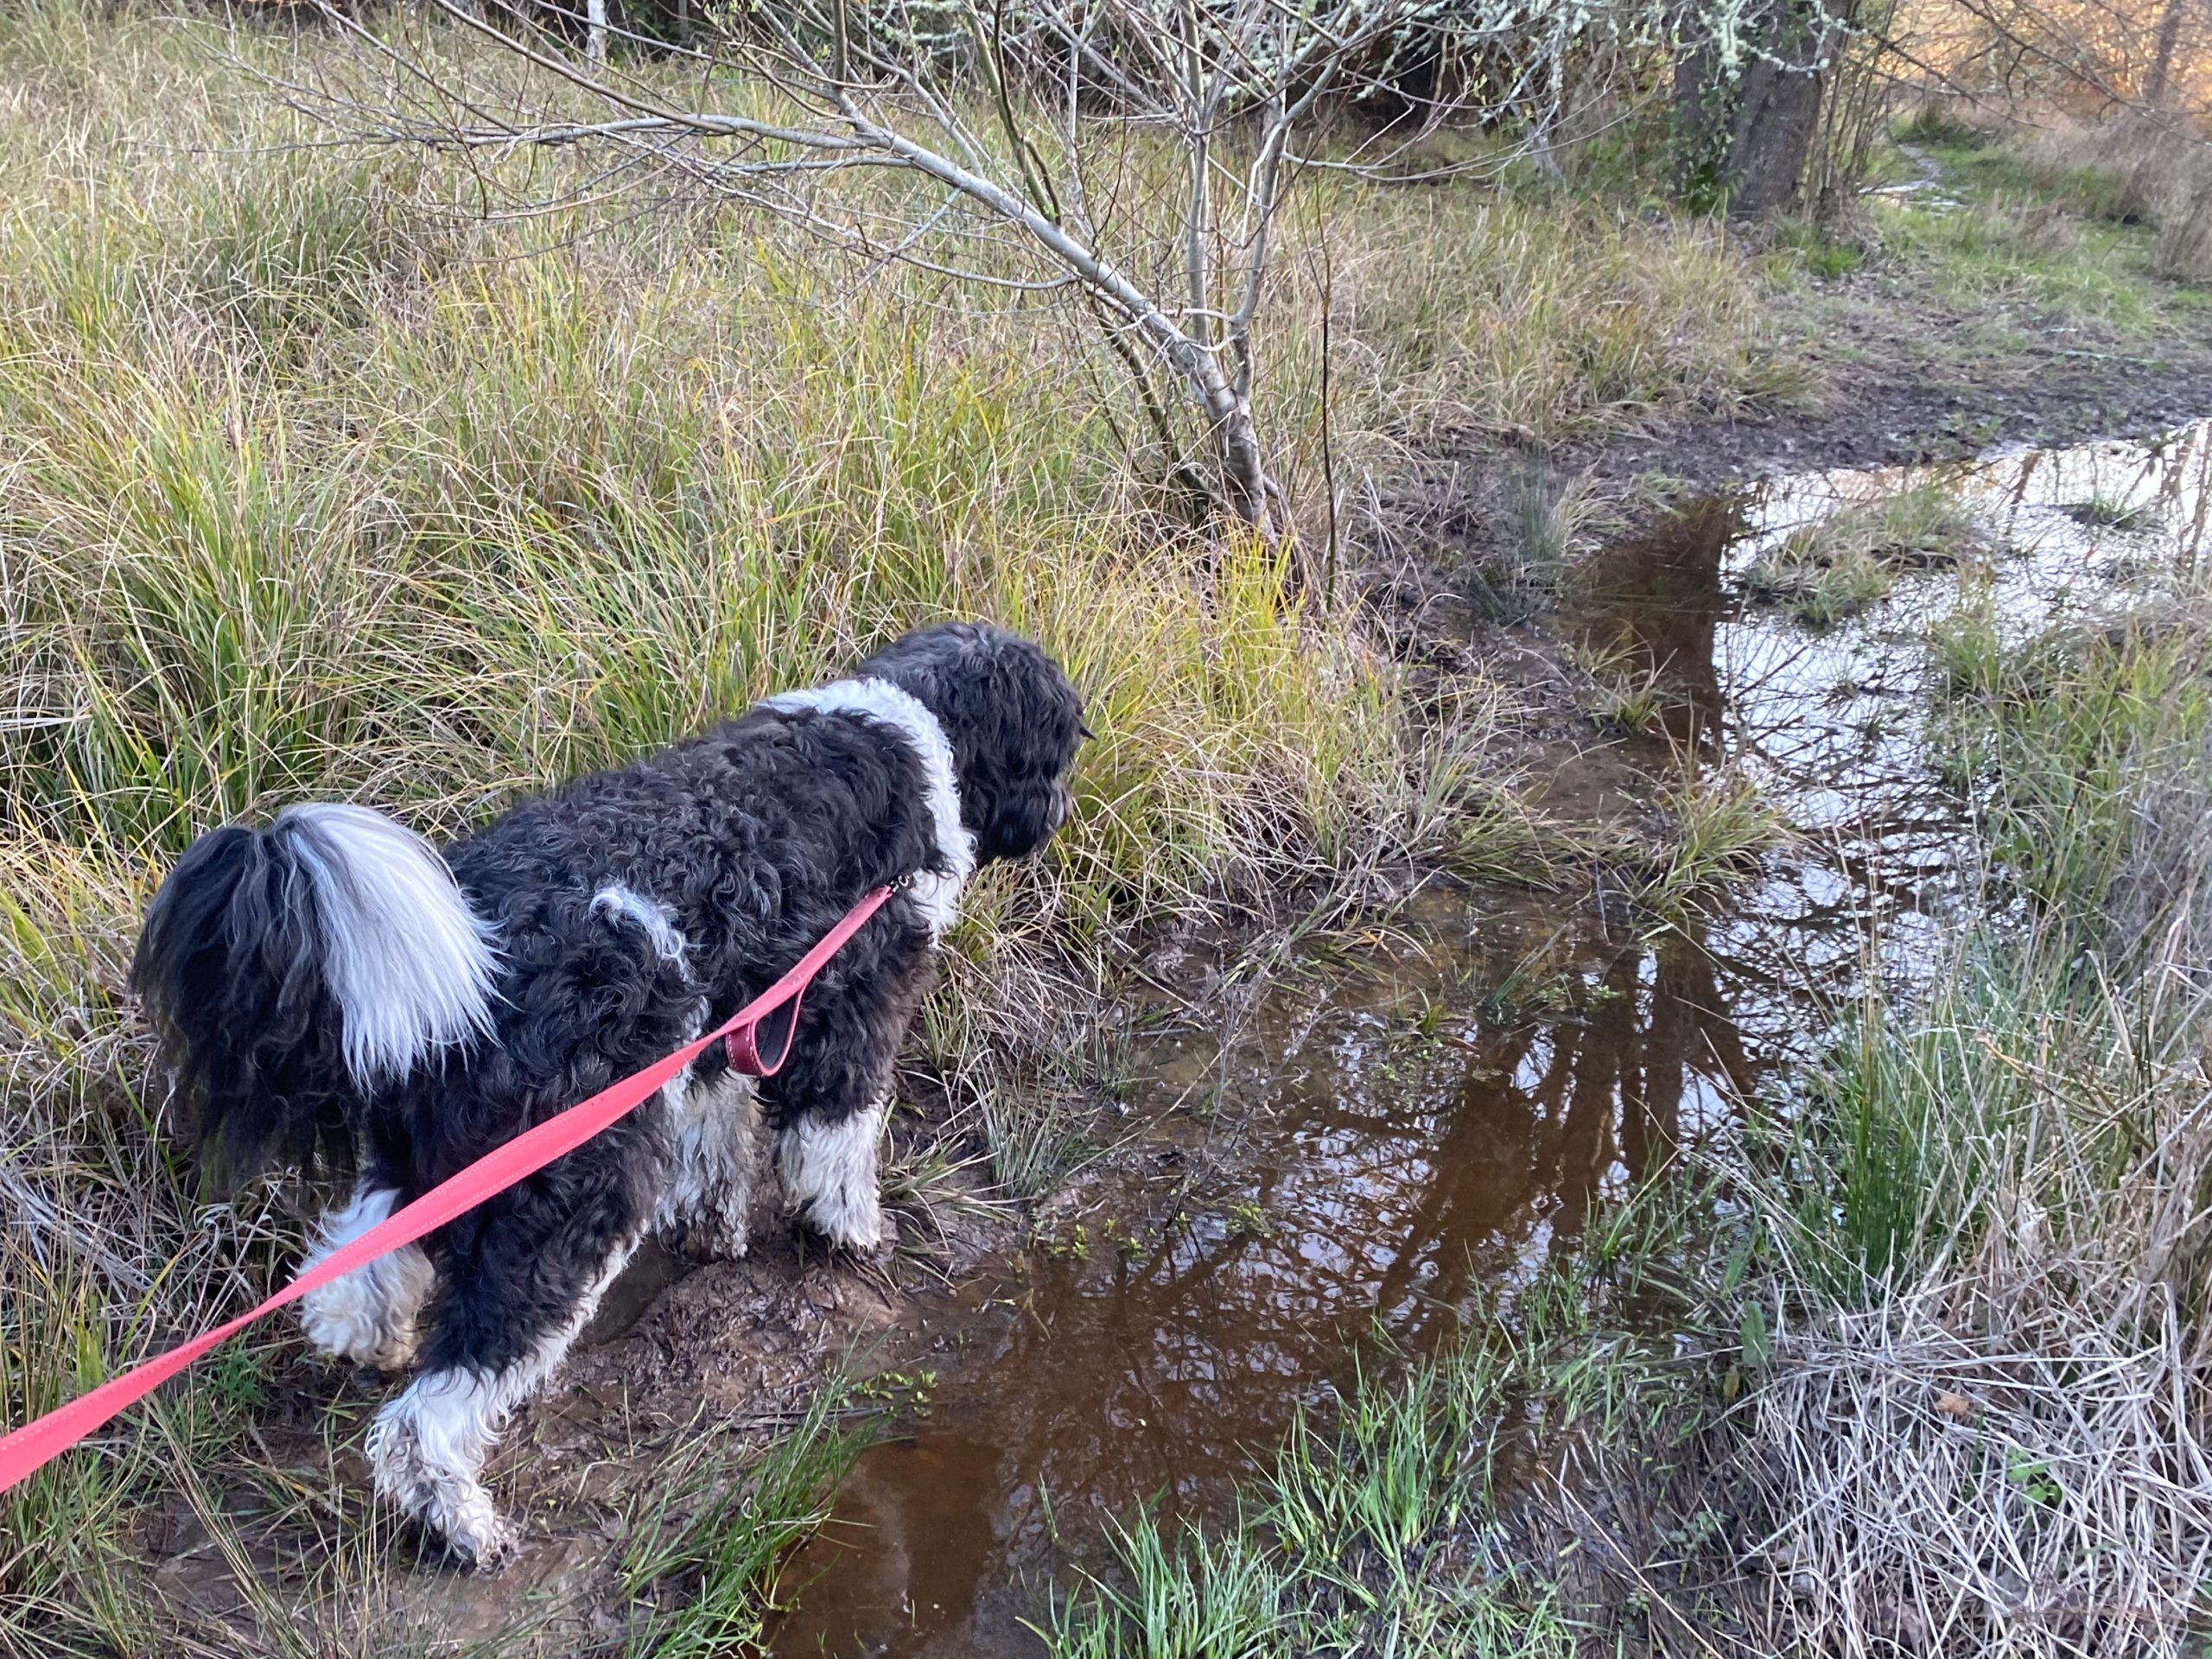
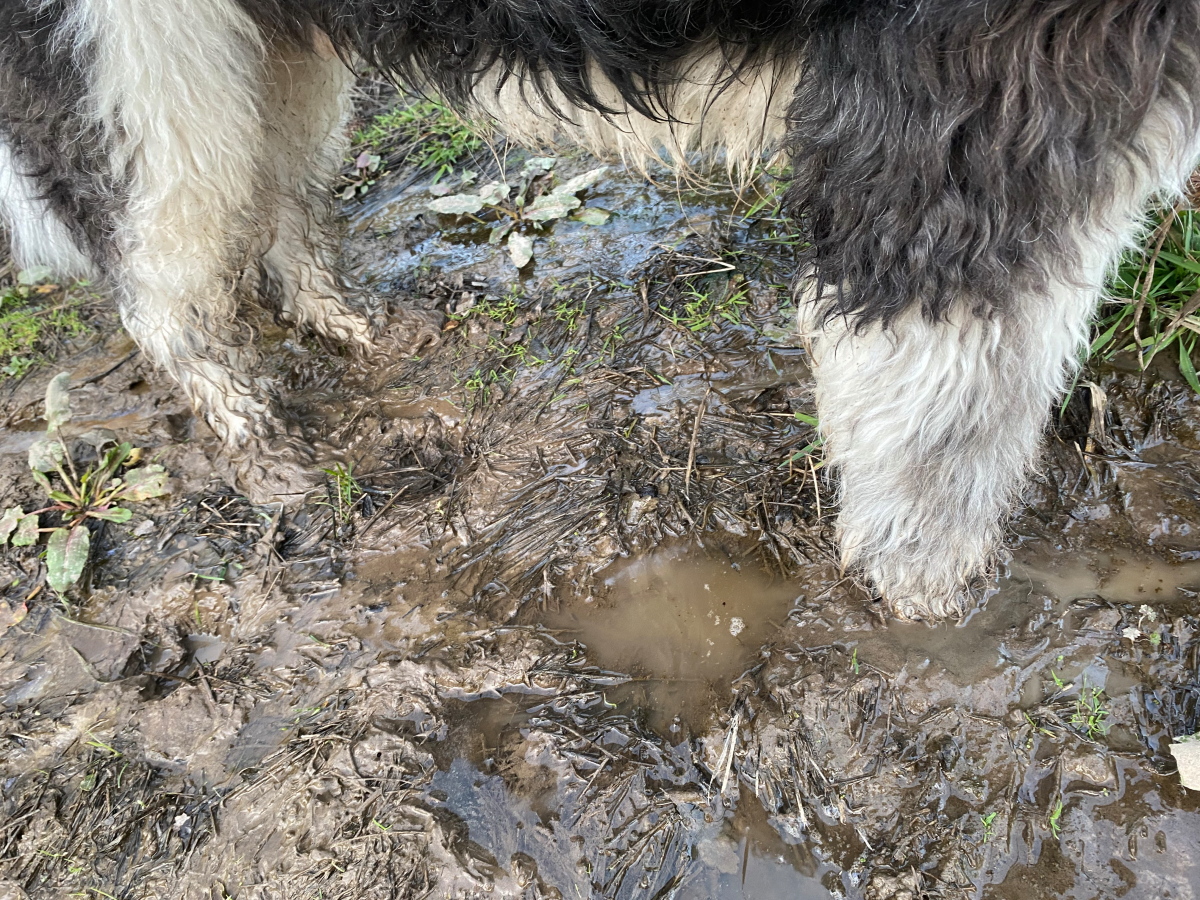
Out on the trail, your dog’s paws face a whole slew of hazards. On sunny days, the trail surface can heat up to dangerous temperatures. You already know this from walking barefoot on the beach. When traversing rocky terrain, sharp edges can shred your dog’s toe pads. Thorns and brambles can puncture and impale her toe pads. Burrs, barley grass seeds and corkscrews can get tangled in your dog’s fur, where they’ll work their way into his skin if neglected. Snow and ice can cake the fur between your dog’s toes. In short, it makes sense to take precautions and to be prepared.
Protecting Your Dog’s Paws in the Wilderness - Part 1 - Inspection
Plan to check and inspect your dog’s paws before you set out. Then check and inspect them and after each leg of your hike. That way, you can deal with small paw problems before they get serious.
First check your dog’s nails and the fur between her toes. Do the nails need trimming? If so, trim your dog’s nails before setting out. Long nails are prone to breaks and splits, which can stop your dog in his tracks, and cause a severe pain that could have been avoided.
Check her paw pads for cuts, abrasions and thorns. Deal with any minor issues in advance. Cancel the expedition if you find anything serious.
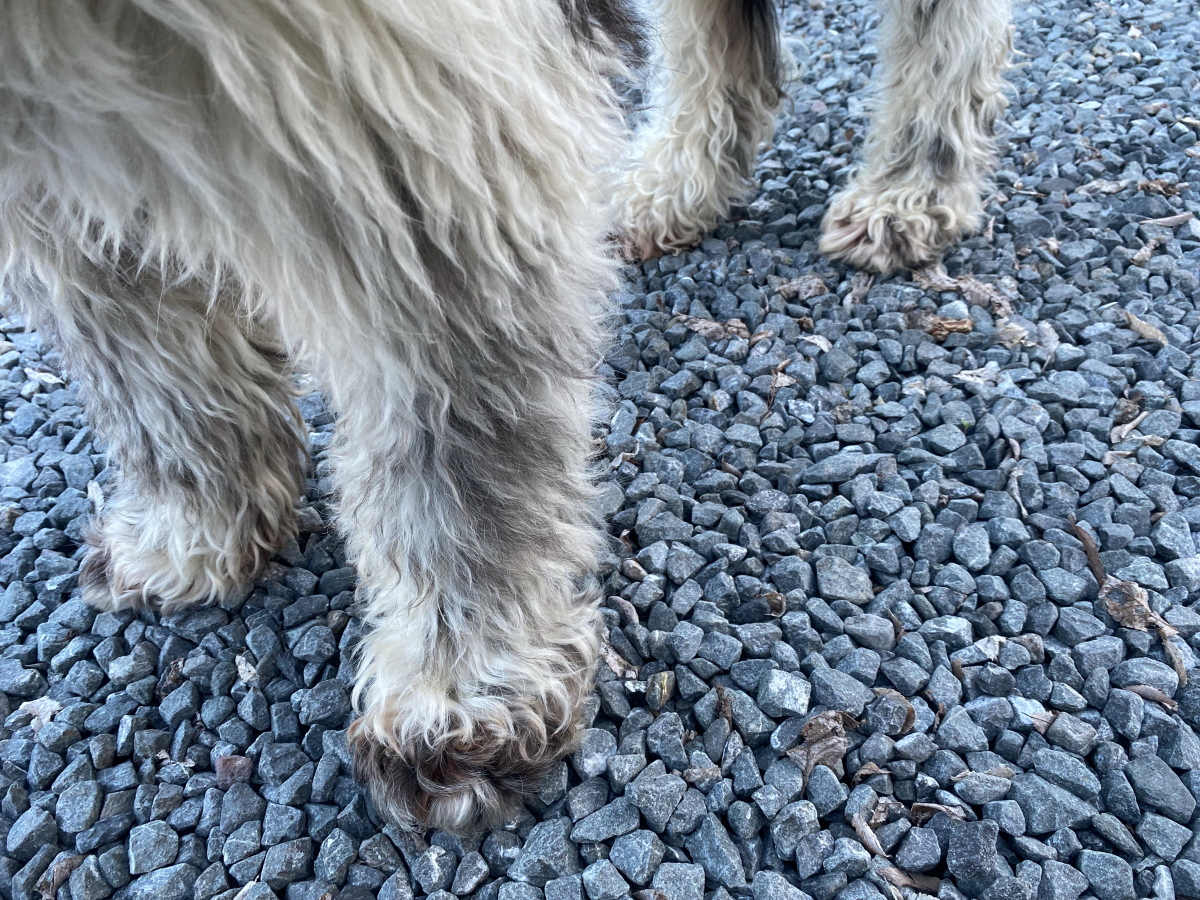
Check between his toes and toe pads for burrs, barley grass seeds (aka foxtails) and corkscrews (aka Filaree, Erodium circutarium). Gently tease them out or trim them out of the fur. You’ll do well to bring a pair of trimming scissors.
In snowy and icy conditions, check for clumps of snow and ice caked in between toes. Gently work these out with your finger tips.
Protecting Your Dog’s Paws in the Wilderness - Part 2 - Hazard Awareness
There are a few hazards you can avoid just by paying attention. For example, on hot sunny days, always check the temperature of the sand at the beach, paved road surfaces, and any other surface that can heat up in the sun. Again, either walk barefoot with your dog or press your palm on the ground to check the temperature.
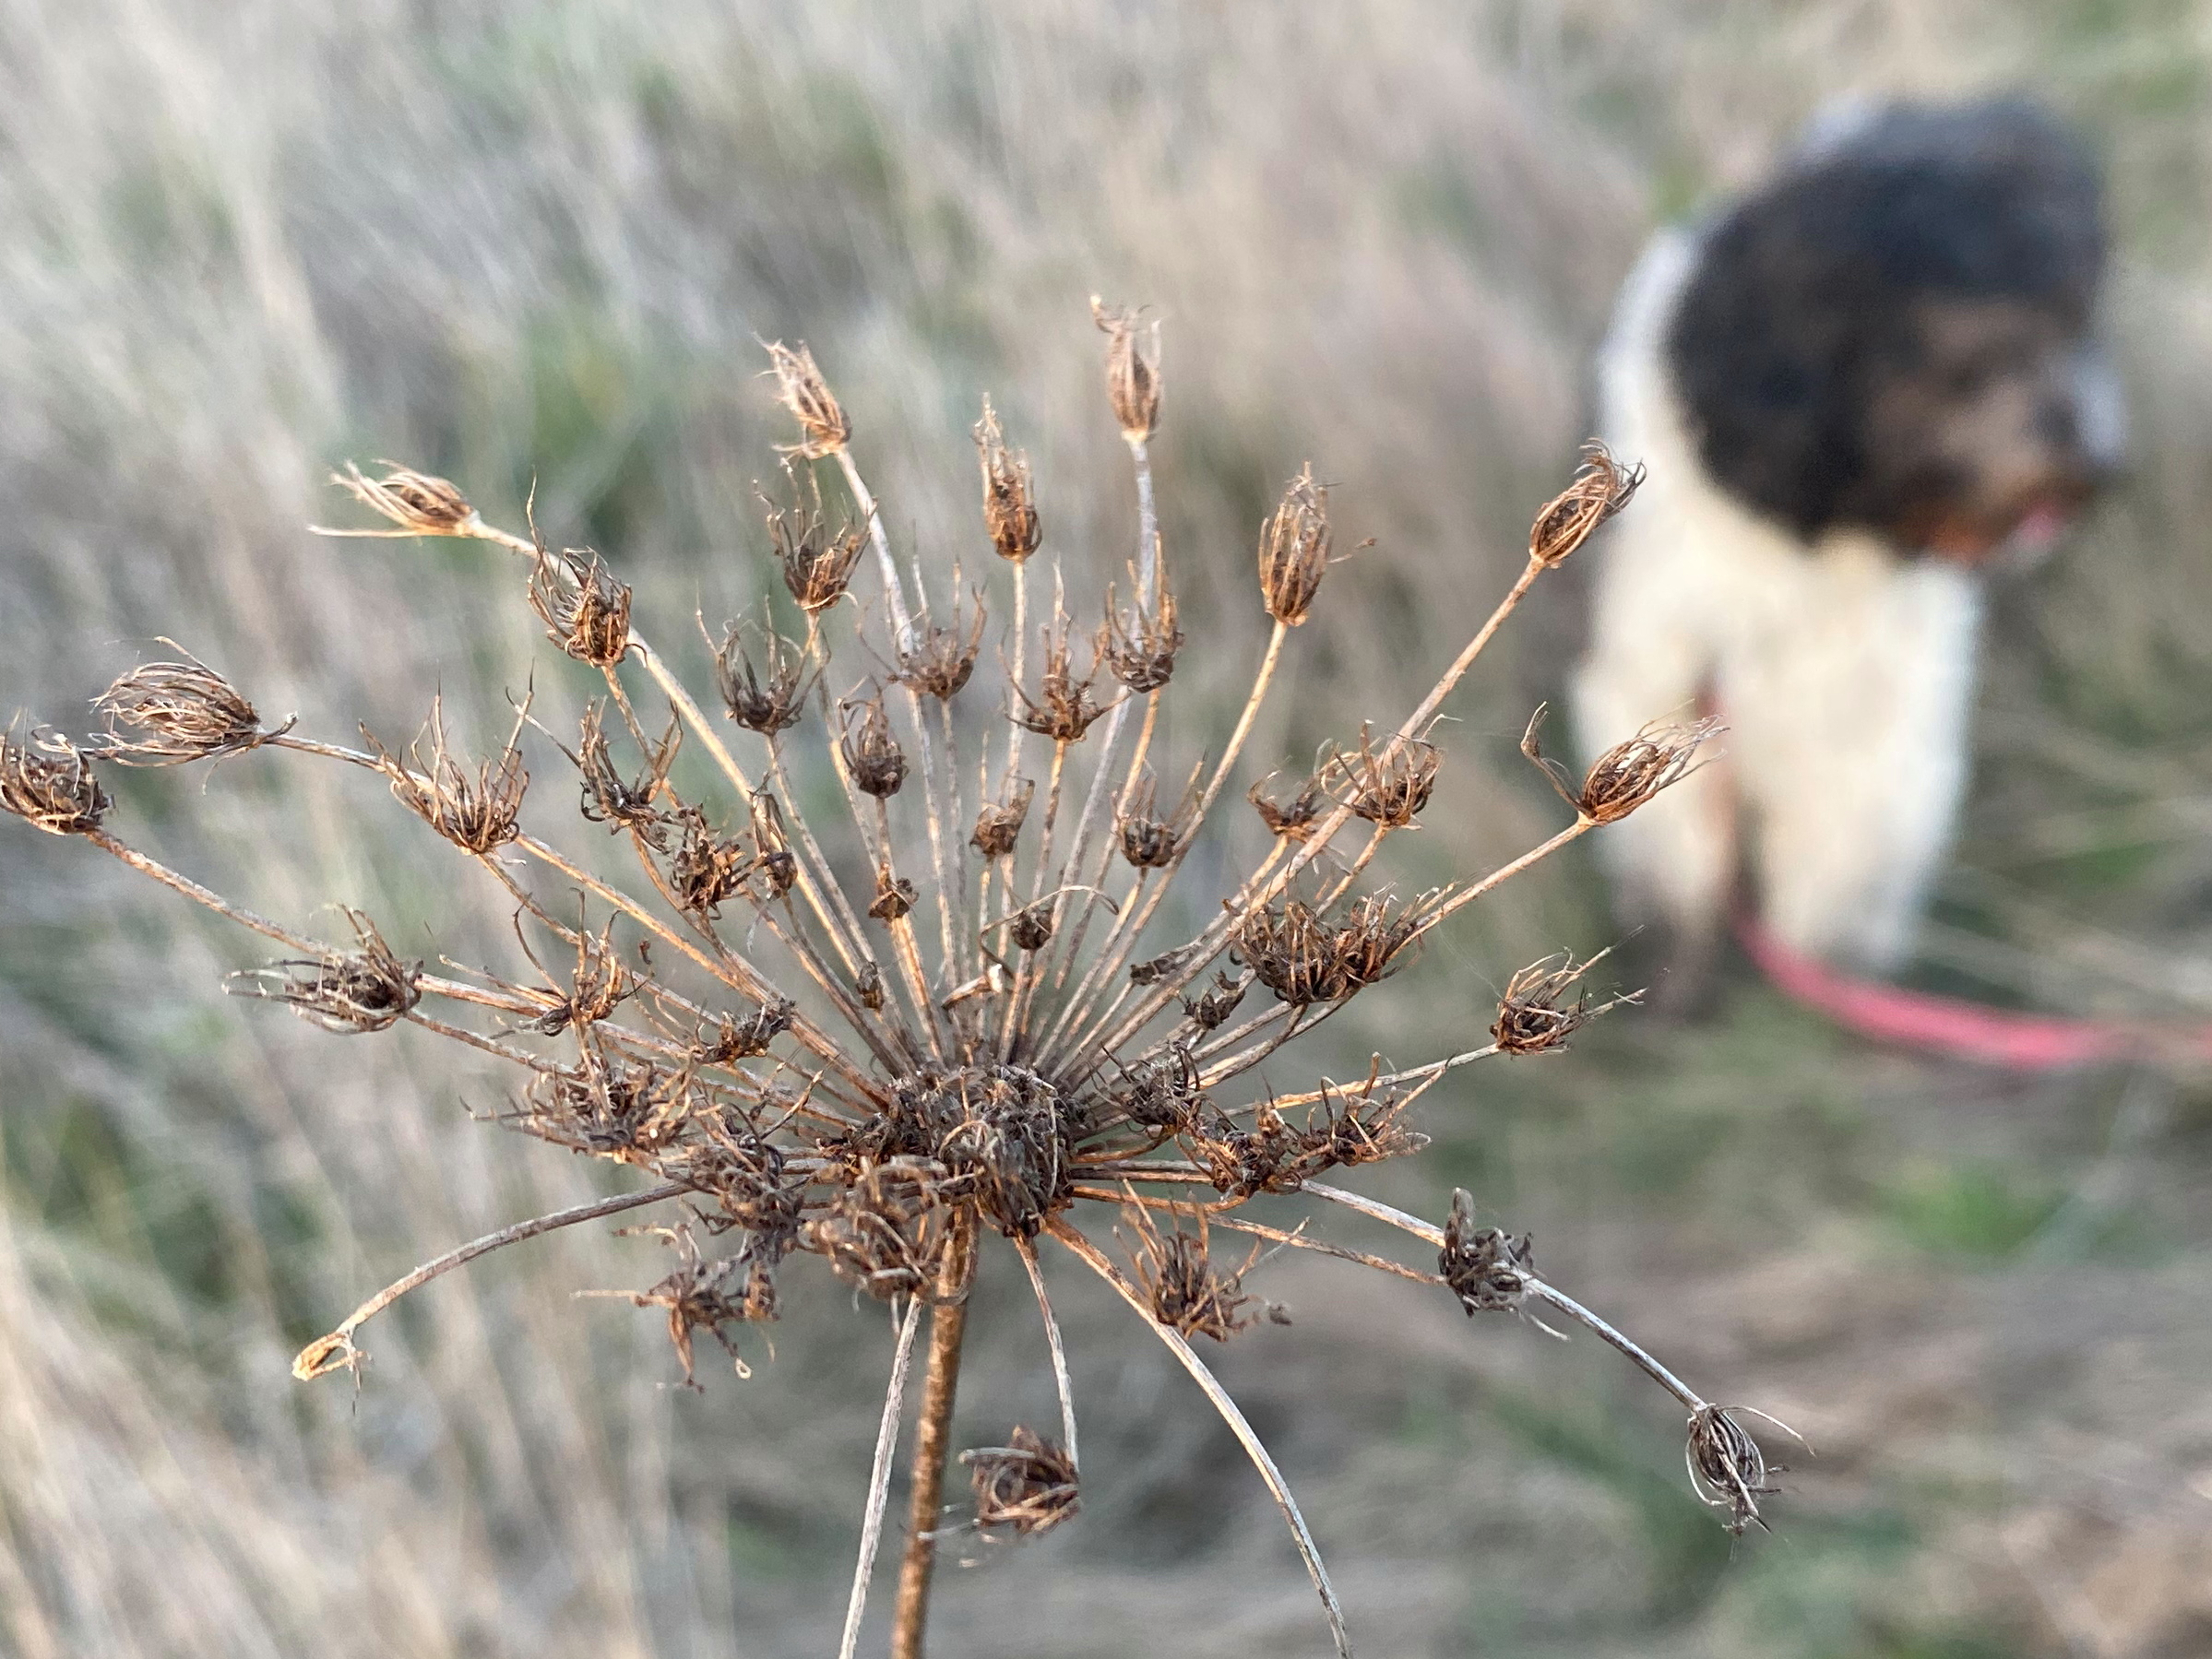
You can easily avoid hazardous plants once you’re able to recognize them. Steer your dog away from burr bearing plants.
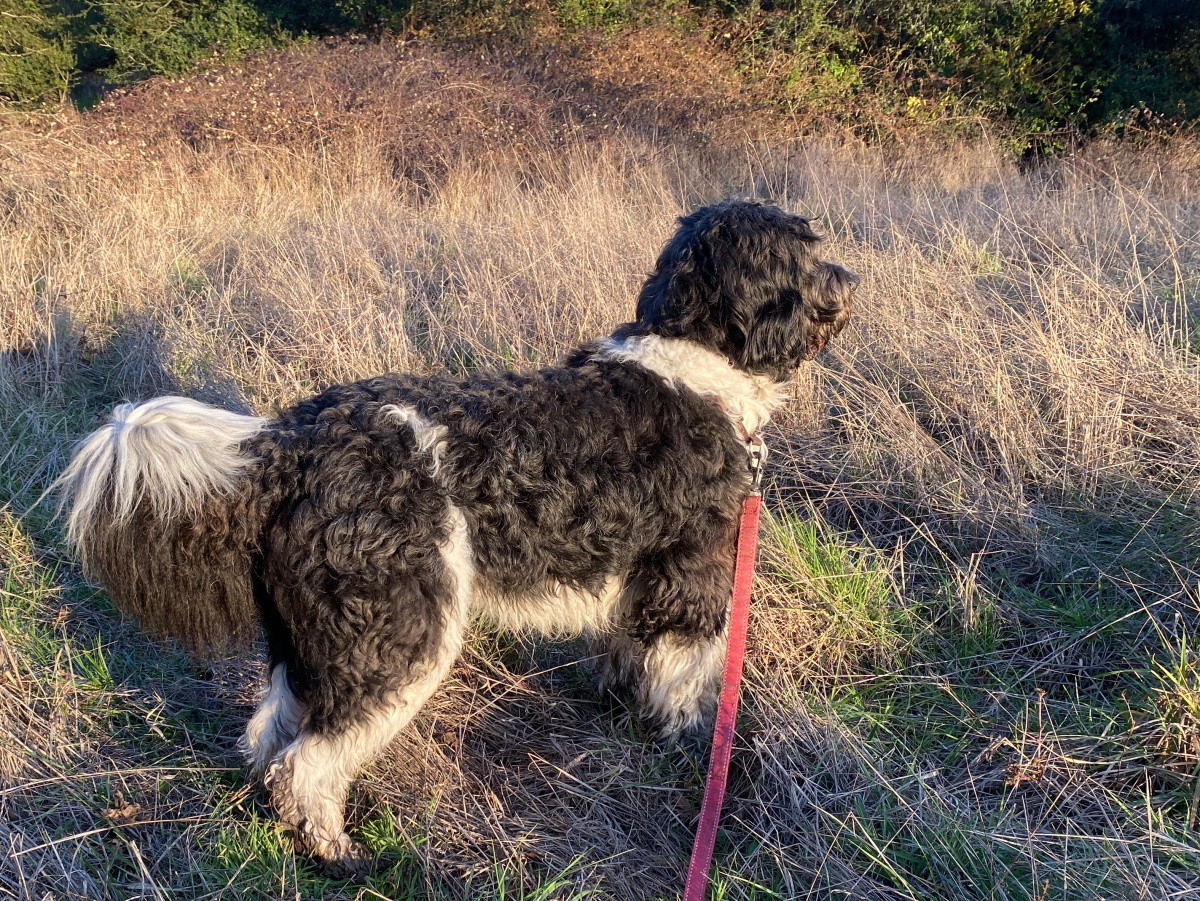
Also steer your dog away from dry, grassy meadows. These may be rife with corkscrew plants and barley grass (foxtails).
Beyond plants that pose hazards to your dog’s feet, learn to identify poison oak and poison ivy. Your dog might be immune to these. But you’ll regret letting her romp in them when days later you come down with a horrible rash after your dog cuddles up to you.
California’s Lost Coast Trail is notoriously hard on dogs’ feet owing to the abrasive sand and gravel that gets between their toes and toe pads, and from all the scrambling over boulders that can be hard on their claws. For this reason, the BLM (Bureau of Land Management) recommends not bringing your dog. But people do bring dogs on the Lost Coast Trail. Many hikers fit their dogs with doggy boots for traversing the rough stretches.
In summary, be sure to read up on the hazards to your dog’s paws and feet when you plan your next expedition.
Protecting Your Dog’s Paws in the Wilderness - Part 3 - Grooming
Trimming the fur between your dog’s toes and toe pads will make it much easier to protect your dog’s feet and paws from burrs, brambles, barley grass seeds and corkscrews. Shorter fur makes it easier to check between toes and pads and remove anything nasty. The same is true for removing ice and snow caked up between their toes and pads.
Consider giving your dog a “poodle toes” trim if he belongs to a long haired or furry breed. Shorter fur around the top of his toes and in between her toes will make it far easier to check for burrs and remove them.
Check your dog’s nails regularly and trim them if they’re too long. If you have any doubts about trimming your dog’s nails, then consult your vet or vet tech.
If your dog doesn’t wear down his own nails from intense outdoor activity, then it’s important to trim your dog’s nails regularly, say once or twice a month, to avoid nasty split nails or torn nails. Trimming also relieves painful pressure on the nail beds when the nails grow too long. It’s best to leave at least 3 mm (an eighth of an inch) of dead nail keratin beyond the tip of the “quick” – the living part of the nail bed with nerves and blood vessels.
When I trim my dog’s nails, I trim off no more than 3mm (or an eighth of an inch) at a time, because the “quick,” or living part of the nail, can grow longer if the keratin part of the nail is allowed to grow too long. But the “quick” will also recede gradually with gradual trimming.
Again, consult your vet, if this isn’t clear. You don’t want to trim your dog’s nails too short and cut through the “quick.”
Protecting Your Dog’s Paws in the Wilderness - Part 4 - Prevention
The top steps you can take to prevent the majority of paw injuries are the following:
First, make it a habit to check your dog’s paws daily, after every walk. When out in the wilderness, make it a habit to check your dog’s paws after every leg of your hike. Check your dog’s nails, paw pads and the fur between his toes. Often you’ll find corkscrews and burrs that you can remove before they develop into tangles or tags, and long before they pierce your dog’s skin where they may cause infection. Again, an ounce of prevention is the key. You’ll also ensure that your dog’s paws are free from ticks, tears, cuts, and cysts.
Second, become aware of the most common hazards posed by plants. Get to know the plant life in your area and along the trails you hike. Keep and eye out for corkscrews, foxtails, thorns and brambles. Check all paws more frequently if you see them on the trail.
Third, be aware of the ground temperature. Check the ground, paved surfaces, beach sand or any other walking surface that can heat up in the sun. Your dog’s feet are at least as sensitive to hot surfaces as the palm of your hand. If you can’t keep your hand comfortably down on the ground, then it’s too hot for your dog to walk on.
Fourth, take steps to protect your dog’s feet from abrasive rocks, ice and snow, broken glass and abrasive sand, and chemicals used to melt ice on walking paths, etc by fitting them with doggy boots. Otherwise, steer clear of these hazards.
Protecting Your Dog’s Paws in the Wilderness - Part 5 - Vigilance
If you follow the preventative measures I’ve listed above, then you will have gone a long way to avoid any possible injury to your dog’s feet.
Stay vigilant for the warning signs that your dog will show you if there’s a problem with his feet, including limping and toe licking.
Again, check his feet for cysts, fur tags, thorns, splinters, cuts and abrasions. Check carefully between the toe pads and toes. Notice any foul smell from his feet. There shouldn’t be any. Notice if your dog keeps licking his paws. Look for lick stains, where the fur has become discolored by licking, taking on a brownish tinge. Take note of his normal gait so that you can immediately detect whether he’s limping or favoring a foot. When you spot any of these signs, it means there is a problem. Act accordingly.
Protecting Your Dog’s Paws in the Wilderness - Part 6 - Helpful Products

There are three groups of products you can purchase to ensure your dog’s feet stay healthy and free from injury, and help you deal with issues if they arise out in the field.
First, there are a wide variety of boots made for dogs to protect their feet from hazardous walking surfaces, for example, the abrasive rocks and sand along the Lost Coast Trail, or the ice and snow of the Iditarod. I doubt whether these will protect your dog’s feet from hot surfaces.
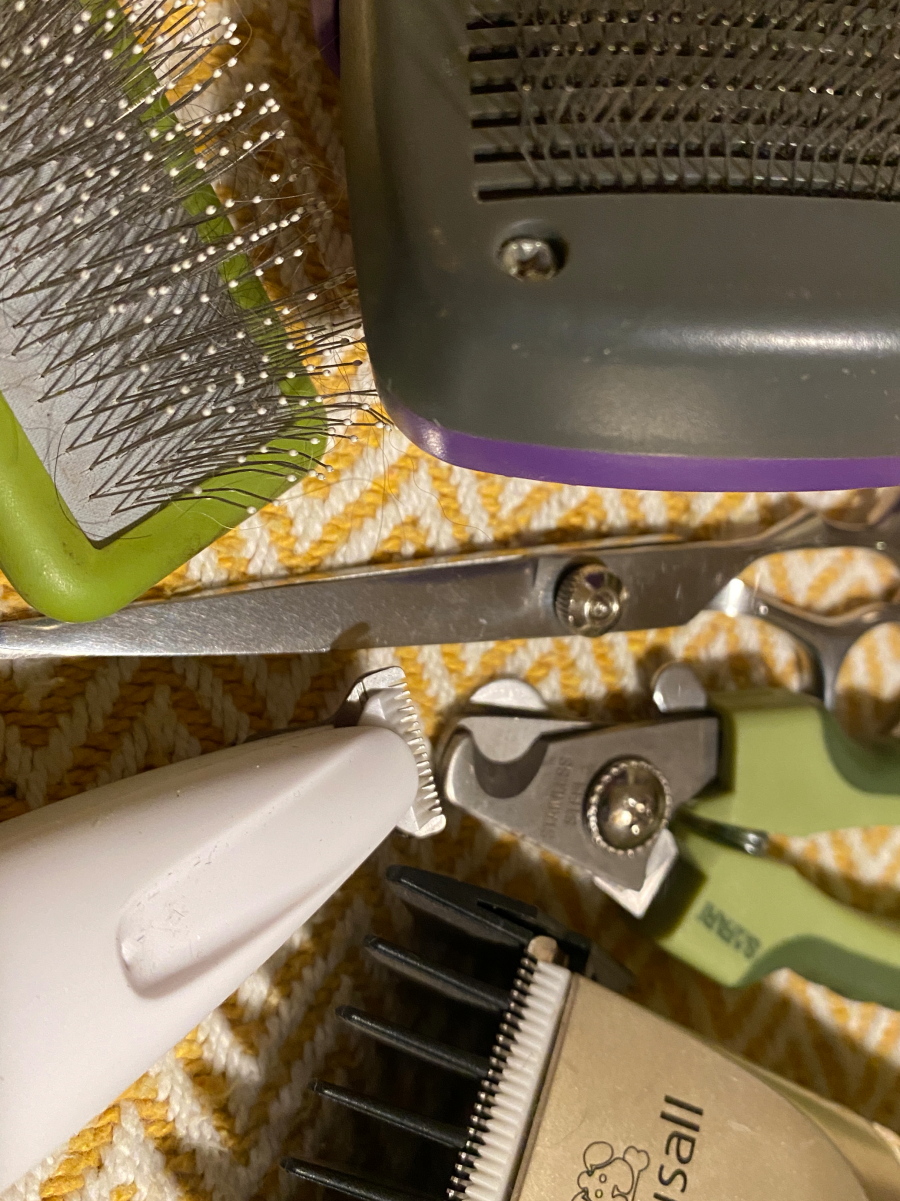
Second, a basic dog grooming kit will include toe nail clippers to prevent toenail injuries. The kit must also include safety scissors or a compact set of electric shears with a small trimming head for trimming away fur in tight spaces, i.e. between toes and toe pads.
Third, there are several first aid kits tailored to dogs. For example, these kits will include lots of gauze rather than adhesive bandages, because adhesive bandages don’t stick to fur. I recommend that you read up on this topic and assemble your own first aid kit. You can begin building a first aid kit for your dog by buying a tick removal kit, a small bottle of povidone-iodine antiseptic liquid, basic fur trimming gear (to expose the cut or abrasion) including safety scissors (for cutting out tightly tangles corkscrews and burrs), cotton swabs, antiseptic wipes, styptic powder (to stop bleeding, with benzocaine to relieve pain), and rolls of sterile gauze.